Install and first-run setup
Unzip, start the app, start the trial and walk through the six setup steps.
Install
- Download the zip from the website's Download page.
- Unzip it to a folder you keep, for example Documents\Virtual Real Cockpit. Do not run it from inside the zip.
- Start Virtual Real Cockpit.exe.
- Follow the setup. It registers the VR add-on for you. No administrator rights are needed.
Windows may show a SmartScreen warning the first time. Choose More info, then Run anyway.
Keep the folder where it is. The VR add-on is registered from that folder. If you move it, run the app once from the new place and choose REGISTER in Settings › System.
The license screen
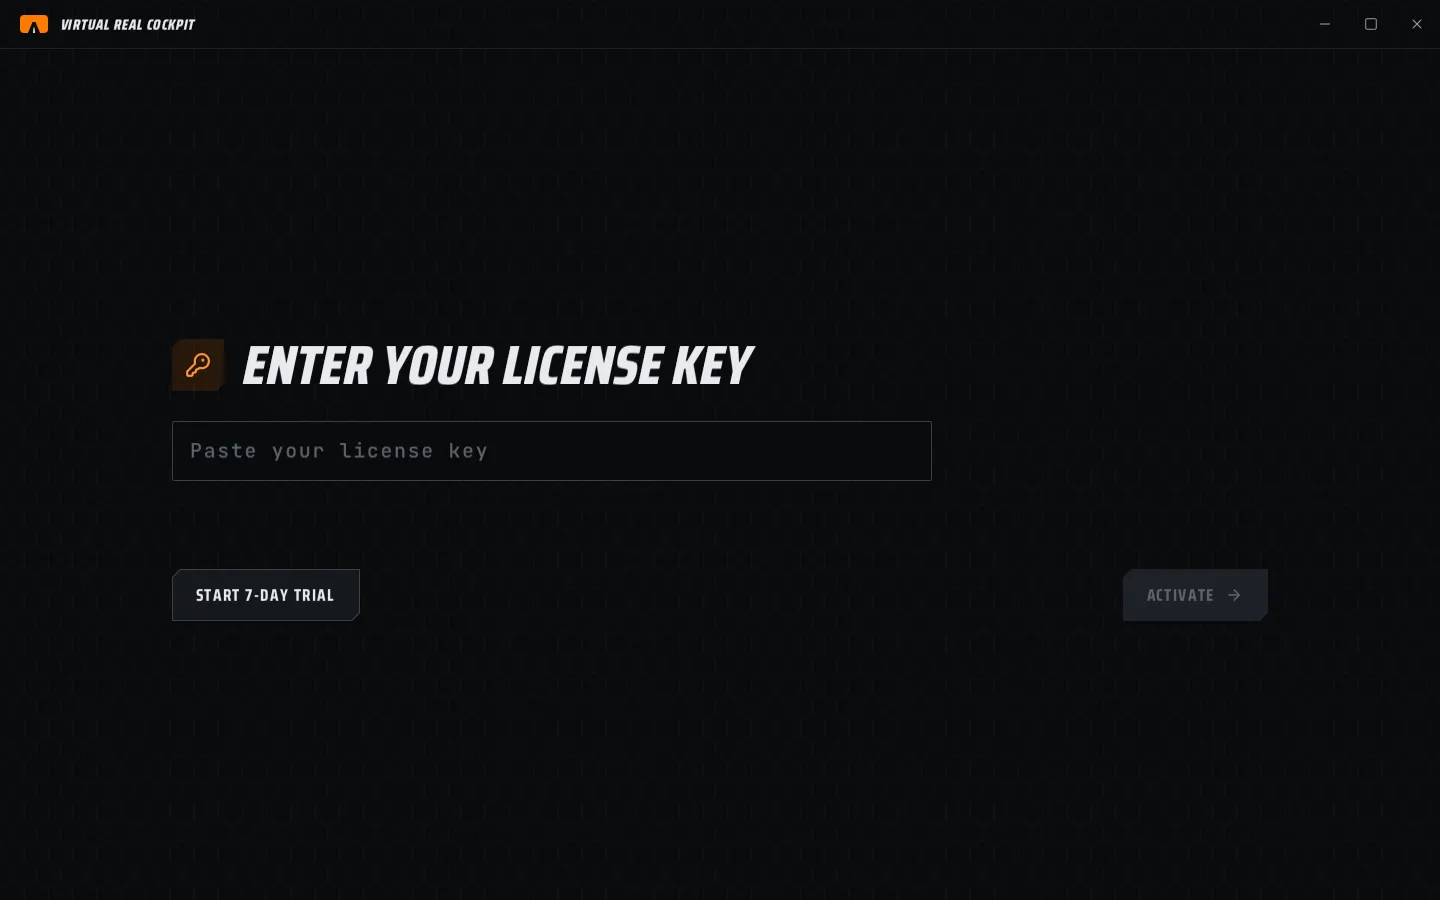
The first start opens ENTER YOUR LICENSE KEY.
- No key yet: choose START 7-DAY TRIAL. Everything works for 7 days. No sign-up, no email.
- You have a key: paste it and choose ACTIVATE.
Chapter 3 explains the trial, Lite mode and the license.
The six setup steps
The bars at the top show where you are, for example 03 / 06. BACK returns to the step before. You can run the setup again at any time from Settings › General › RUN SETUP.
1. Choose your sim
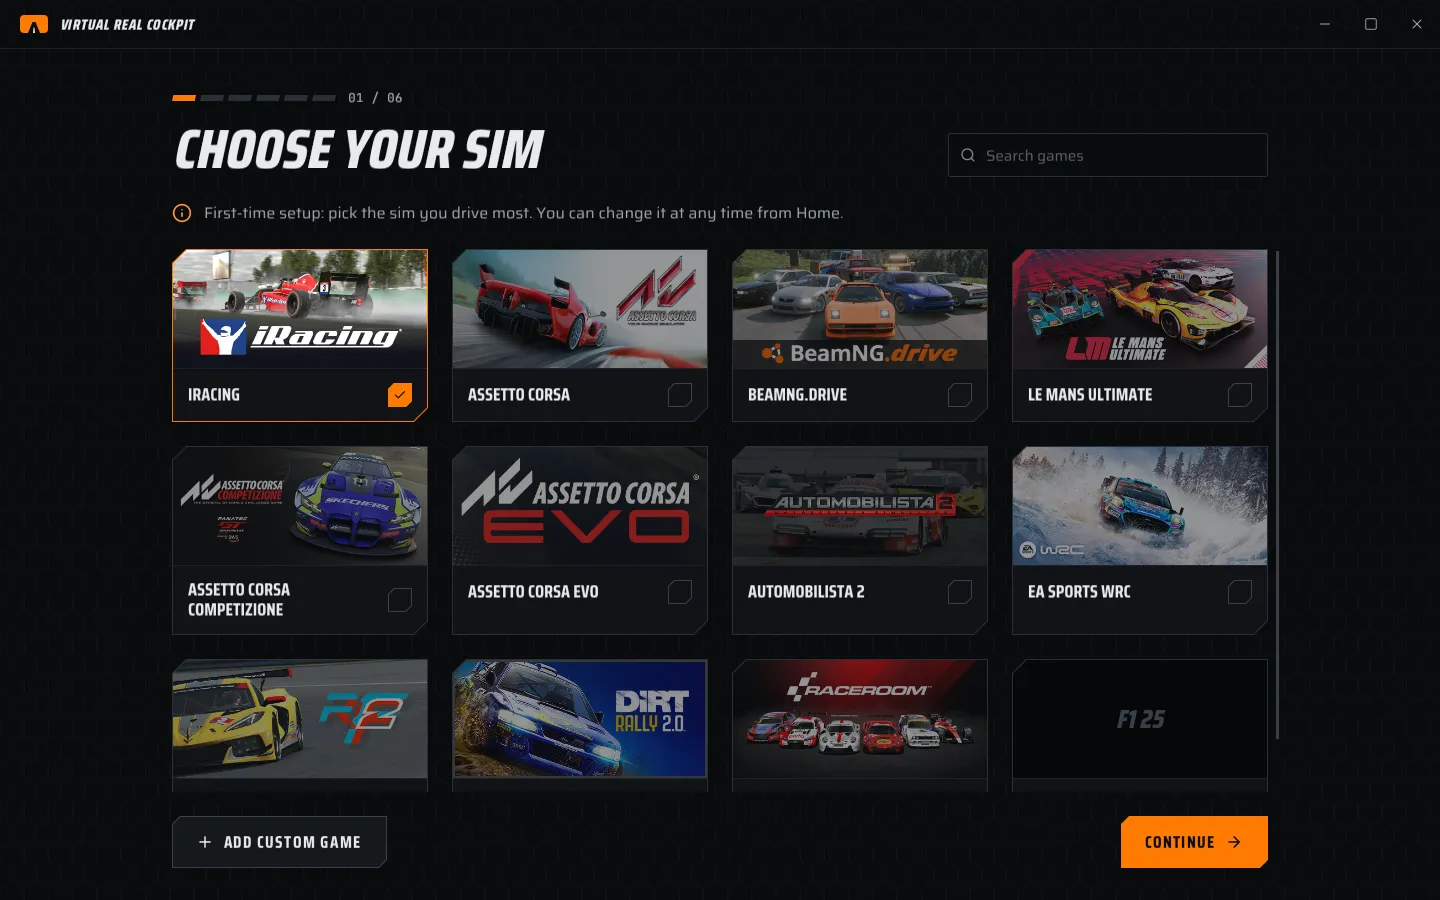
- Pick the sim you drive most. You can change it later from Home.
- A FOUND tag means the app found the game on this PC.
- Not in the list? Choose ADD CUSTOM GAME, give it a Name, choose its Game file with BROWSE, then ADD.
- Choose CONTINUE.
Type in Search games to filter the list. Short names work too: ams2, lmu.
2. Find the game file
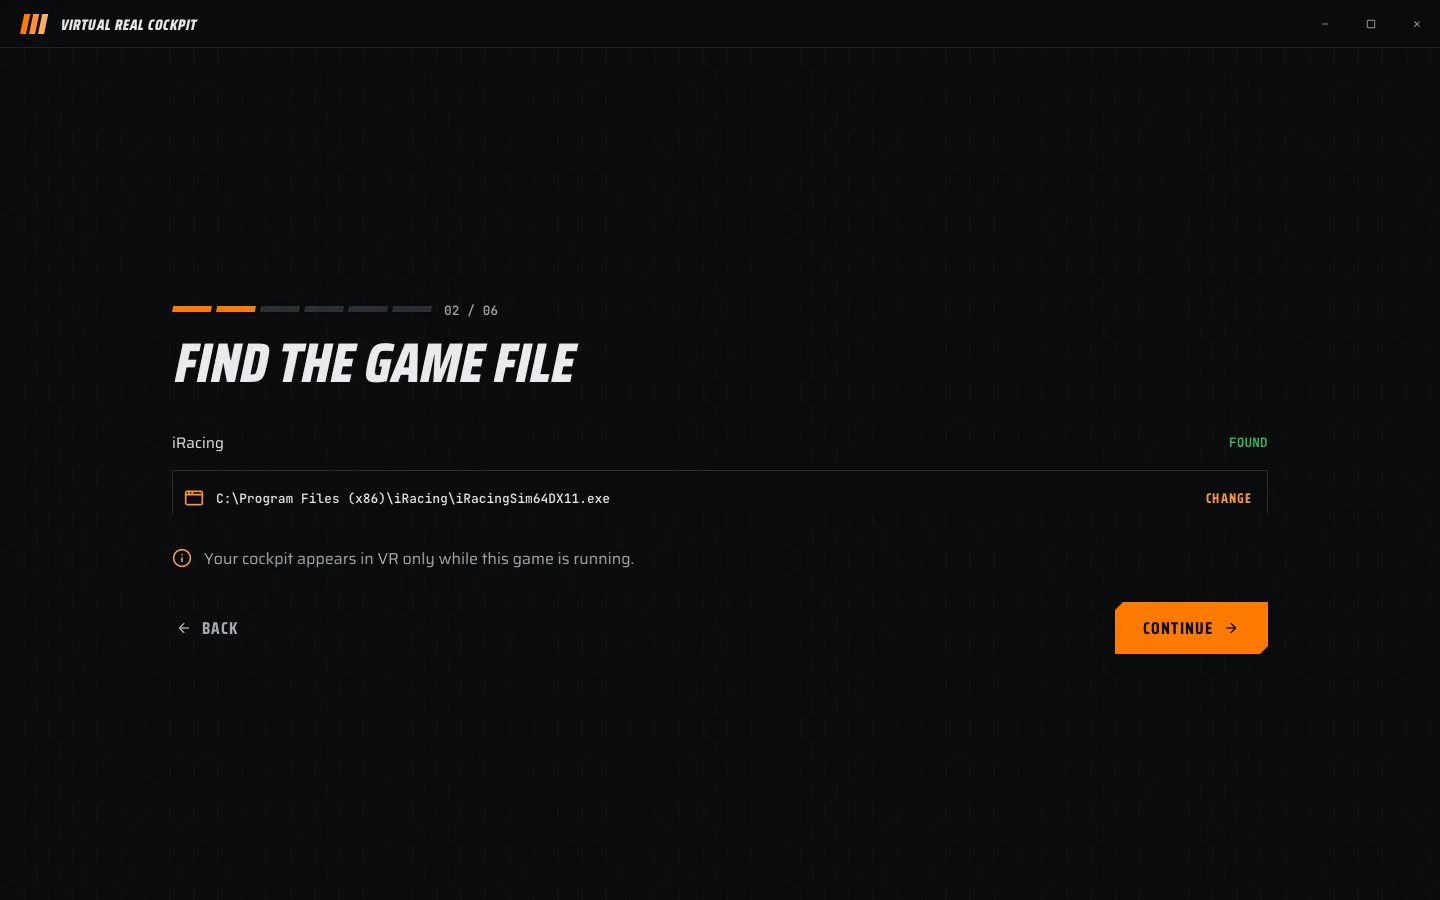
The app looks in your Steam libraries for the game's program file. When it finds it, the row says FOUND.
- NOT FOUND: choose BROWSE and pick the game's .exe.
- Wrong file: choose CHANGE.
Your cockpit appears in VR only while this game is running. Other VR apps never show it.
3. Use OpenXR
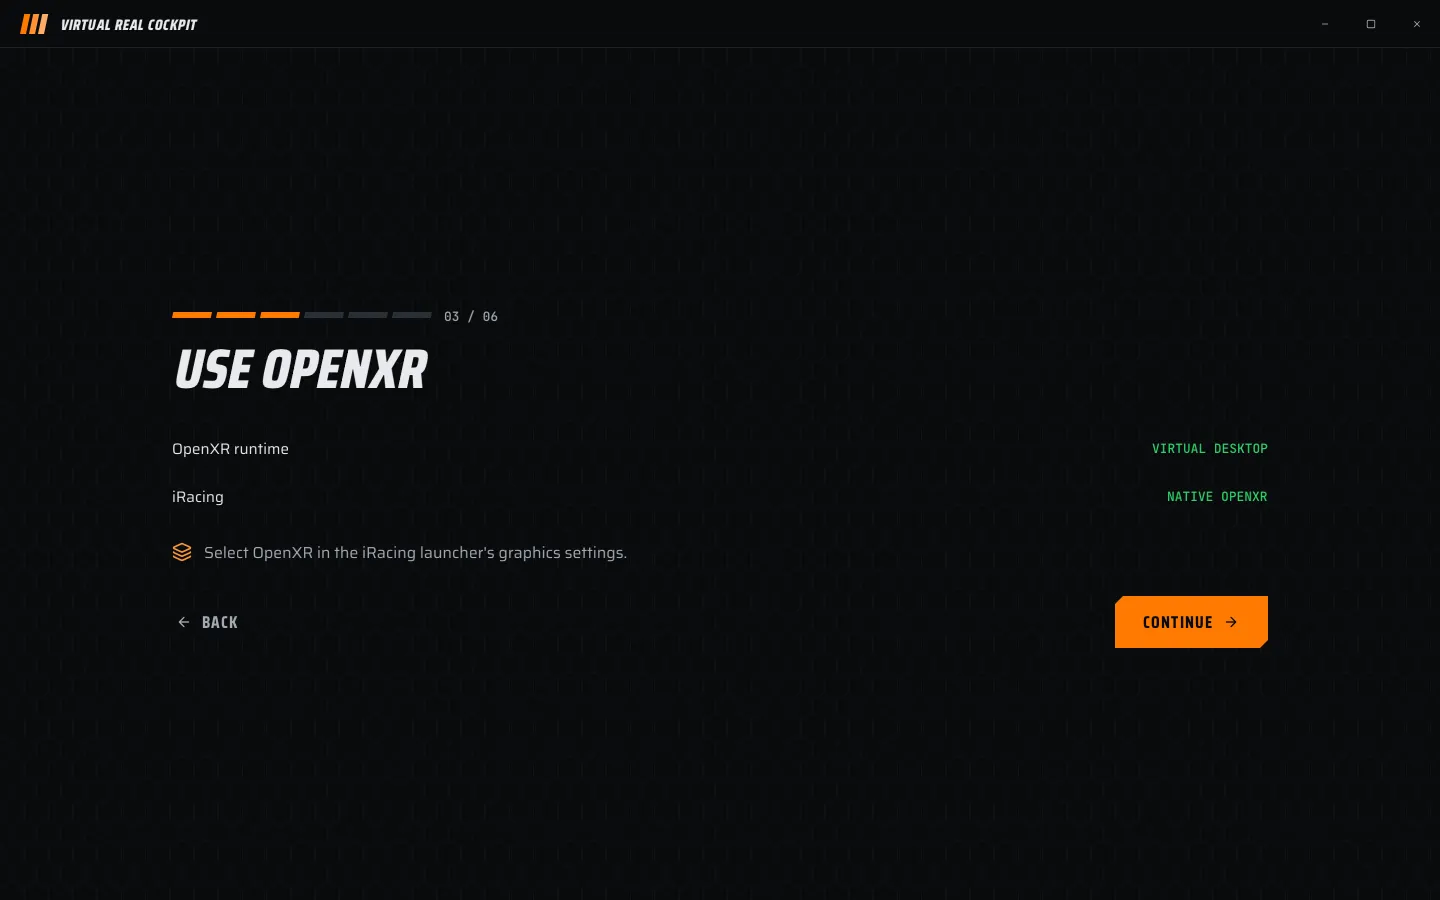
| Row | What it tells you |
|---|---|
| OpenXR runtime | The runtime your PC uses, for example VIRTUAL DESKTOP. NONE means no VR runtime is set. |
| Your sim | NATIVE OPENXR: ready. OPENVR ONLY: install OpenComposite. CHECK THE GAME: a custom game; check its VR settings. |
For OPENVR ONLY sims, OPENCOMPOSITE opens the OpenComposite page. Install it for that game, then come back.
4. Passthrough
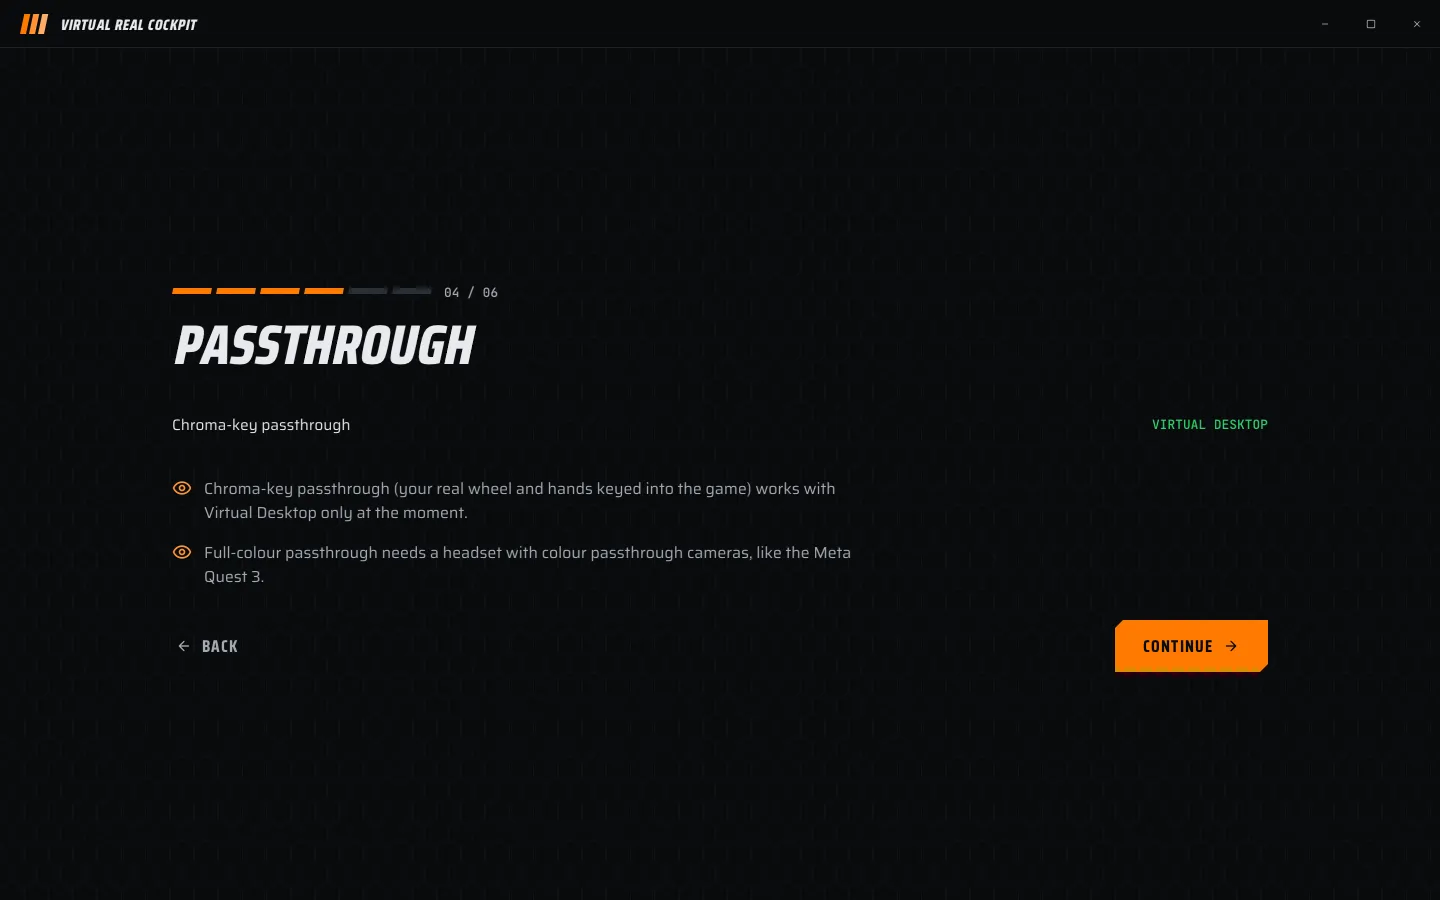
This step tells you which passthrough your setup can use.
- VIRTUAL DESKTOP: chroma-key passthrough works.
- NOT AVAILABLE: your runtime has no chroma key. Passthrough is tested with a Meta Quest 3 on Virtual Desktop (chapter 7).
5. Pair recentre button
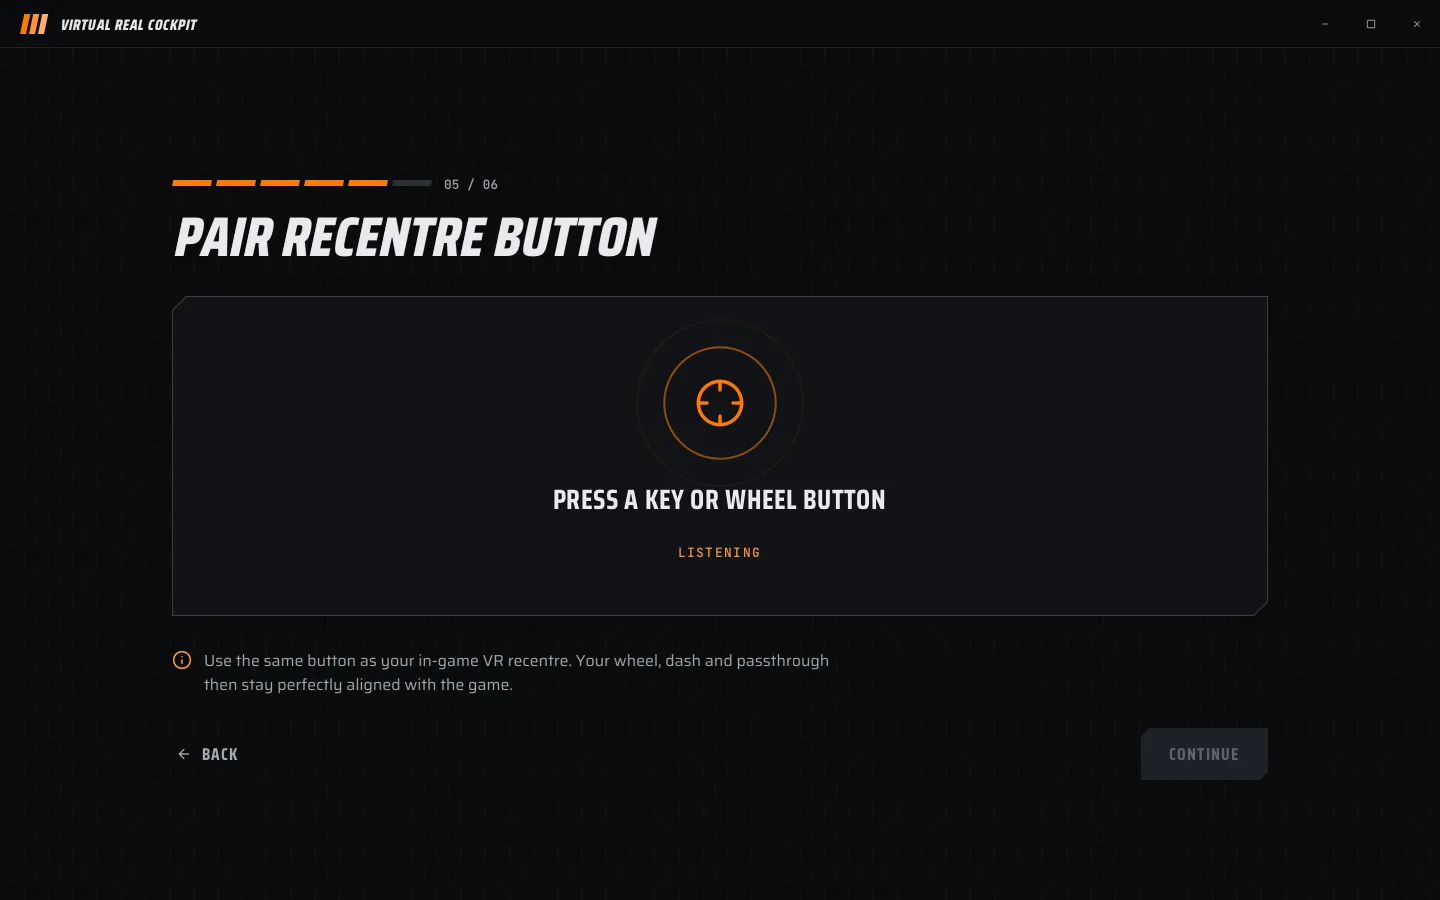
- The panel shows LISTENING.
- Press the key or wheel button you use for the sim's own VR recentre.
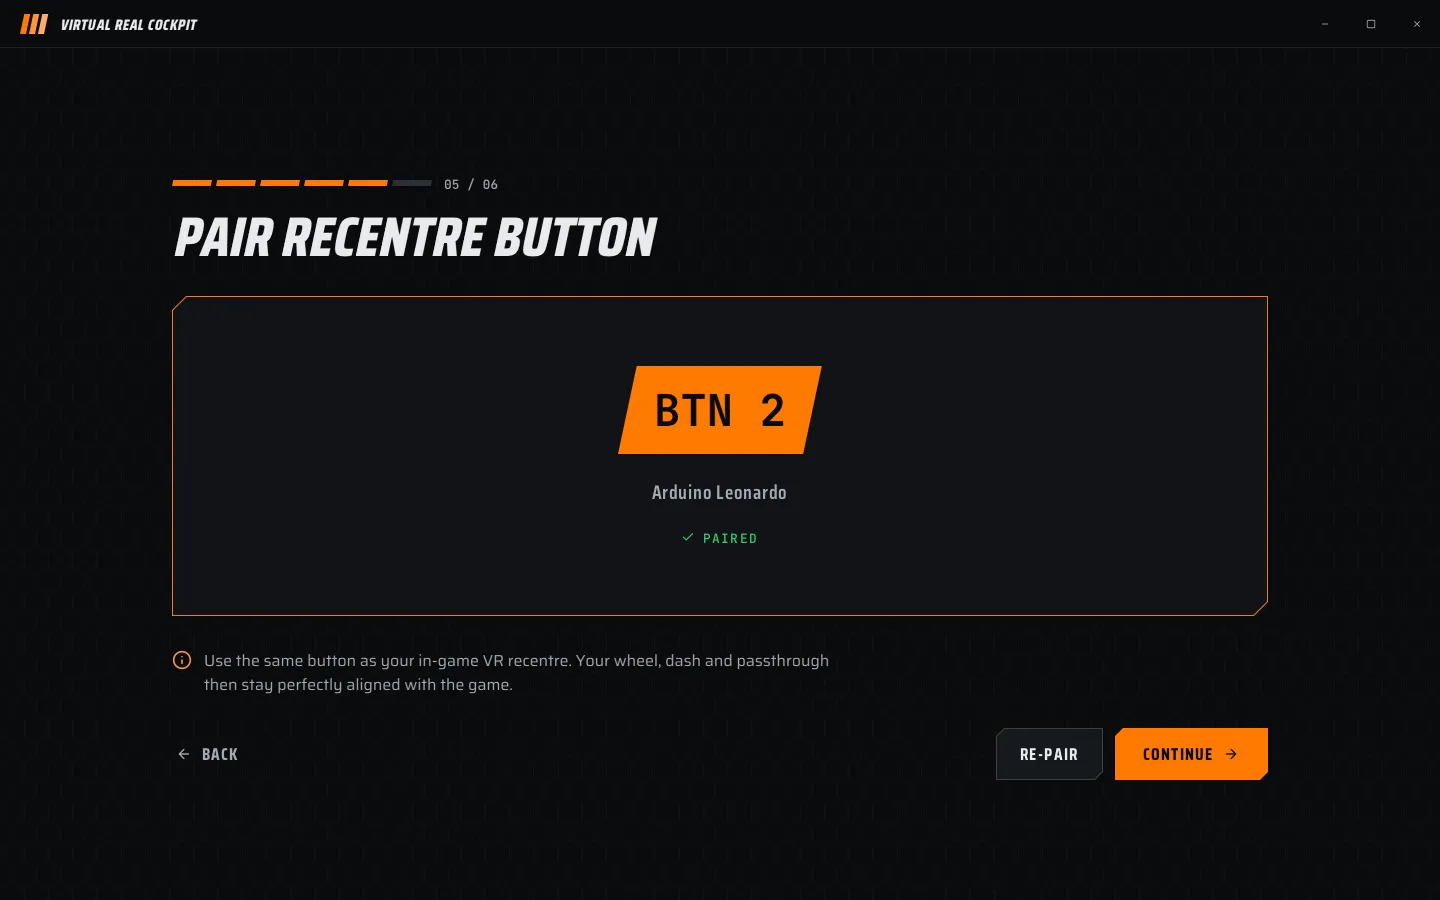
- The panel shows the button, for example BTN 12, the device name and PAIRED.
- Choose CONTINUE. RE-PAIR listens again.
Use the same button as your in-game recentre. Both then recentre together, and your wheel, dash and passthrough stay lined up with the game.
6. VR controls
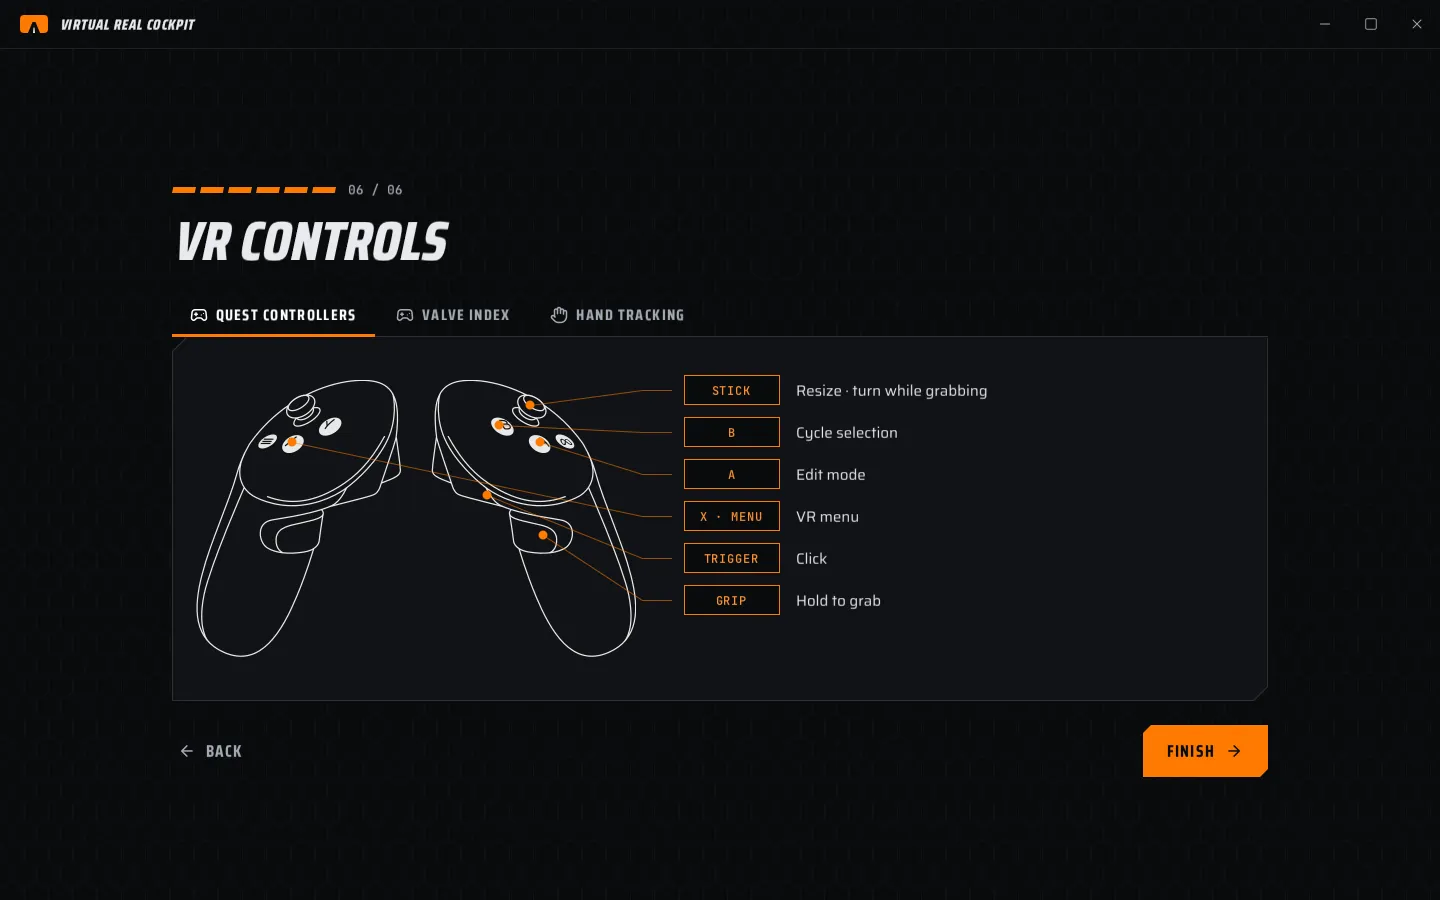
This page shows the controls in the headset. Pick your tab: QUEST CONTROLLERS, VALVE INDEX or HAND TRACKING. Chapter 10 has the full list. Choose FINISH to go to Home.
Check that it works
- Start your sim in VR.
- Press X on the left controller. The VR menu opens in front of you.
- If nothing shows, see chapter 12, "The cockpit does not show".